If you want to learn how to install a VPN on your school computer, you’ve come to the right place! VPN stands for Virtual Private Network, and it’s a tool that can help you protect your online privacy and security while using the internet. Installing a VPN on your school computer can be useful if you want to access blocked websites or keep your online activities private. In this article, we will provide a step-by-step guide on how to install a VPN on your school computer, and explain the process in simple terms that can be understood by 6th graders.
Step 1: Research and Choose a Reliable VPN Provider
Before you can install a VPN on your school computer, you need to choose a reliable VPN provider. Look for VPNs that have good reviews and a strong reputation for protecting privacy and security. It’s important to choose a VPN that is trustworthy and has a good track record.
Step 2: Download the VPN Software
Once you’ve chosen a VPN provider, you’ll need to download the VPN software. Most VPNs have software that is compatible with various operating systems, such as Windows, macOS, iOS, and Android. Make sure to download the correct software for your school computer’s operating system.
Step 3: Install the VPN Software
After you’ve downloaded the VPN software, you’ll need to install it on your school computer. Double-click on the downloaded file to start the installation process. Follow the on-screen instructions to install the VPN software. It may ask for administrator permission, so make sure to get permission from your teacher or school administrator before proceeding.
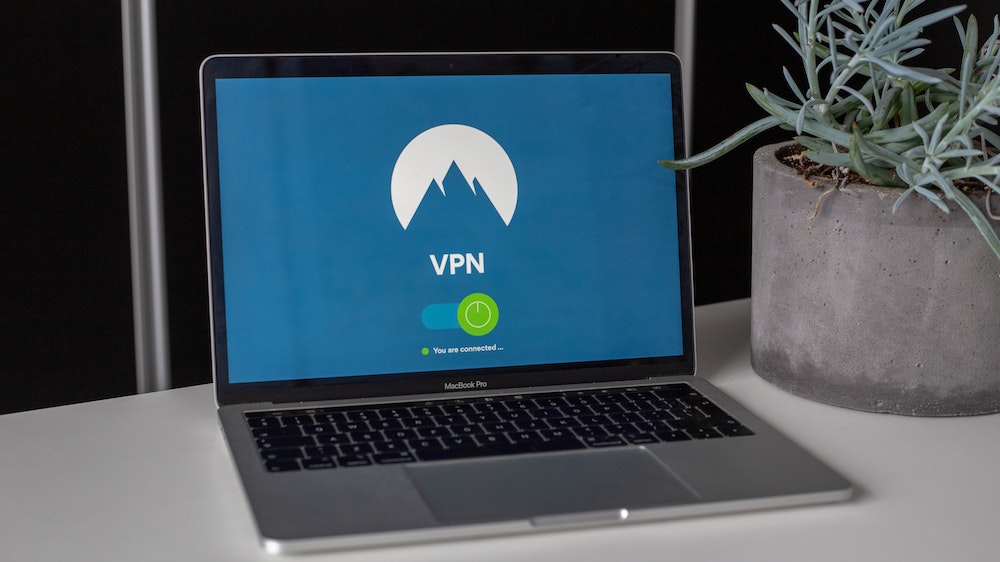
Step 4: Launch the VPN Software
Once the VPN software is installed, you can launch it by clicking on the program icon. This will open the VPN client interface, where you can configure the settings and connect to a VPN server.
Step 5: Connect to a VPN Server
To start using the VPN, you’ll need to connect to a VPN server. The VPN server is a computer that acts as an intermediary between your school computer and the internet. It encrypts your internet traffic and makes it appear as if it’s coming from a different location, which can help you bypass restrictions and access blocked websites.
In the VPN client interface, you’ll usually see a list of server locations to choose from. Select a server location that you want to connect to. It’s generally a good idea to choose a server that is closest to your location for better performance. Click on the “Connect” button to establish a connection to the VPN server.
Step 6: Test the VPN Connection
Once you’re connected to the VPN server, it’s a good idea to test the VPN connection to make sure it’s working properly. You can do this by visiting a website or app that was previously blocked by your school’s network. If you’re able to access the website or app, then the VPN is working correctly.
Step 7: Disconnect from the VPN
Server When you’re done using the VPN, you can disconnect from the VPN server by clicking on the “Disconnect” or “Disconnect” button in the VPN client interface. This will terminate the VPN connection and restore your school computer’s normal internet connection.
Conclusion
Installing a VPN on your school computer can be a useful way to protect your online privacy and security, and access blocked websites. By following the step-by-step guide provided in this article, you can learn how to install a VPN on your school computer in simple terms that are easy to understand for 6th graders. Remember to always get permission from your teacher or school administrator before installing any software on your school computer, and choose a reliable VPN provider for the best results. Stay safe